Search This Blog

Showing posts with label natural. Show all posts

Tuesday, 23 April 2013

honey on a pimple?

This week I got a pimple. In one corner of my forehead, just below the hairline. So I did what every embarrassed young woman does -- I picked and touched it until it became several times more noticeable.

I had read somewhere that putting a dab of honey on a zit, covered by a band-aid, works like a charm. The honey is supposedly anti-bacterial and it should dry it out.

What did I have to lose? Last night I dutifully put a dab of sticky honey on my face, covered with a band-aid, and went to bed.

This morning when I removed the band-aid ...

Nothing had changed. Except the area was shiny until I wiped the honey off. The only benefit was preventing me from being able to touch it.

I love honey, but unless I've missed something this supposed "cure" for a pimple does not work. Don't believe everything you read on the Internet, people!


Sunday, 17 March 2013

healthy make-ahead meals

A few weeks ago I spotted a recipe book in the library: "Make-Ahead Meals Made Healthy." And that's when my plan to cook up a storm over March Break was born. Stumbling across the make-ahead breakfast smoothies (and making 14 of them!) was grafted into this plan.

I can't believe that March Break is already over. It flew by, and I didn't get everything done that I thought I would. However, I did reach all my cooking goals (minus one dish!). Perhaps this is because cooking became a form of procrastination -- a way to avoid preparing two unit tests, writing lesson plans, making unit plans and marking the pile of assignments in my bag? Perhaps.

I love cooking ahead and freezing or preserving things. My kind of cooking involves turning my kitchen into an absolute mess, getting in comfortable clothes, working like I'm in a factory, doing several rounds of dishes and ... not having to cook again for awhile. Maybe it's my years of working in a camp kitchen, who knows? Go big or go home -- I hate the idea of pulling everything out and cooking two.servings.every.single.day.

Anyway ... I would definitely recommend this book of recipes. Everything I've made is very tasty; a nice way to switch up the same old, same old dishes I make to put in the freezer ahead of time (chili, shepherd's pie, etc.) And every single dish is definitely a step up from the frozen pizzas, pasta or cold cereal we normally reach for when we're hungry and don't have much time.

my kind of cooking: turkey casserole in my mega steel mixing bowl...
The recipes I've tried from this book:

1. Creamy Turkey Casserole with Broccoli and Cauliflower
Yummy! Surprisingly, the chopped dried prunes that this recipe calls for taste really good in it. (Never had dried prunes before.) While this recipe includes turkey, broccoli and cauliflower I wonder how "healthy" it is considering the cream of chicken soup cans, mayonnaise and Havarti cheese. Oh well -- it's delicious. Because it is pretty creamy, I think I can stretch it even further by serving it with rice or pasta.

2. Family-Friendly Chicken and Wild Rice Bake
Ginger Veggie Fried Rice
A good one-dish dinner. This is the dish that I have bought the ingredients for but, here I am, the end of March Break and it hasn't been made yet. I'll get to it, I'll get to it.

3. Ginger and Veggie Fried Rice.
With the beaten eggs, spinach, sesame seeds and edamame (I used snow peas), this is easily hearty enough to be lunches for me. (I froze it flat in small freezer bags.)

4. Salmon Cream Cheese Breakfast Burritos
I didn't realize that this is more like a spread, so I was a little surprised when I prepared it and the texture was not what I expected! This is a really good recipe, though, and despite the cream cheese it's pretty healthy -- it takes 8 cups of baby spinach and a whole bunch of green onions. Spread this on a whole wheat wrap and you have a nice light lunch to go. Since this goes so far, I froze some of the extra in containers to use as cracker dip.


Salmon Cream Cheese spread 


5. Black Bean Breakfast BurritosEggs, red pepper, (I threw in some green pepper too), cilantro, onions, black beans and pepper jack cheese (I used Monterey Jack -- is that the same?) ... delicious and easy breakfast or lunch. Burritos get wrapped in tin foil, put in a freezer bag, and can be quickly re-heated individually in a microwave or toaster oven.

Some other recipes in this book that caught my eye: mushroom-stuffed pork chops with roasted root vegetables, beef and papaya burritos (wha????), caramelized onion soup, smoked ham and bean soup, whole-grain parmesan herb twists and dark chocolate and almond scones.

I like how the recipes in this book make large quantities (because they're meant to be prepared and frozen ahead of time) and gave freezing and reheating instructions for each recipe.


 With the smoothies, packing all of this into my small fridge freezer was quite the exercise! I can't imagine what I'd be like if I had a chest freezer ... scary. At least I'd be prepared for the Apocalypse.


turkey casserole ready to be packed into the freezer

Thursday, 7 March 2013

spaghetti squash round one


I don't remember ever eating spaghetti squash, and I have certainly never cooked it. My cooperating teacher is a bodybuilder and a self-proclaimed nutrition nut. She's been an inspiration for me (I've actually been exercising three times a week since New Year's!) and she suggested spaghetti squash as an alternative to pasta. I love squash, and I love spaghetti, so I thought this might work out well. 

I prepared the squash by slicing it in half (they're tough to cut into -- be careful!) lengthwise. I scooped out the seeds and loose strands and put both halves on a cookie sheet, skin-side down. I brushed about 1 and a half tablespoons of olive oil on each side and sprinkled with salt and pepper. I covered both halves with tin foil and put them in the oven at 375 (or was it 400?) degrees. 

When I checked on the squash about 25 minutes in, I was still at a loss as to how exactly this solid squash would turn into noodle-like strands. But when I took the squash out of the oven after about 50 minutes of baking time, I was amazed! I started pushing my fork into the flesh, peeling it away from the skin and sure enough it began to separate like spaghetti noodles! 

I took the "alternative to spaghetti" quite literally, so I only added a bit of brie cheese that we had in the fridge, the last sprinkling of parmesan, and a few tablespoons of pasta sauce. I was a little disappointed by how it became a mushy mass, and Isaac didn't appreciate the texture at all. I did enjoy how the squash gave me that full feeling you get from pasta (without being pasta!). I need to approach spaghetti squash on its own terms next time instead of just seasoning it as if it was spaghetti. Some teachers at the high school suggested feta and herbs ... 

Even though spagetti squash was a no-go for Isaac, I liked it and will definitely try it again. 

Tuesday, 4 December 2012

Canning 2012

This was our first year making our own preserves. Isaac and I are both students with many siblings. As an affordable gift that will hopefully still be appreciated, we decided to give preserves for Christmas this year.

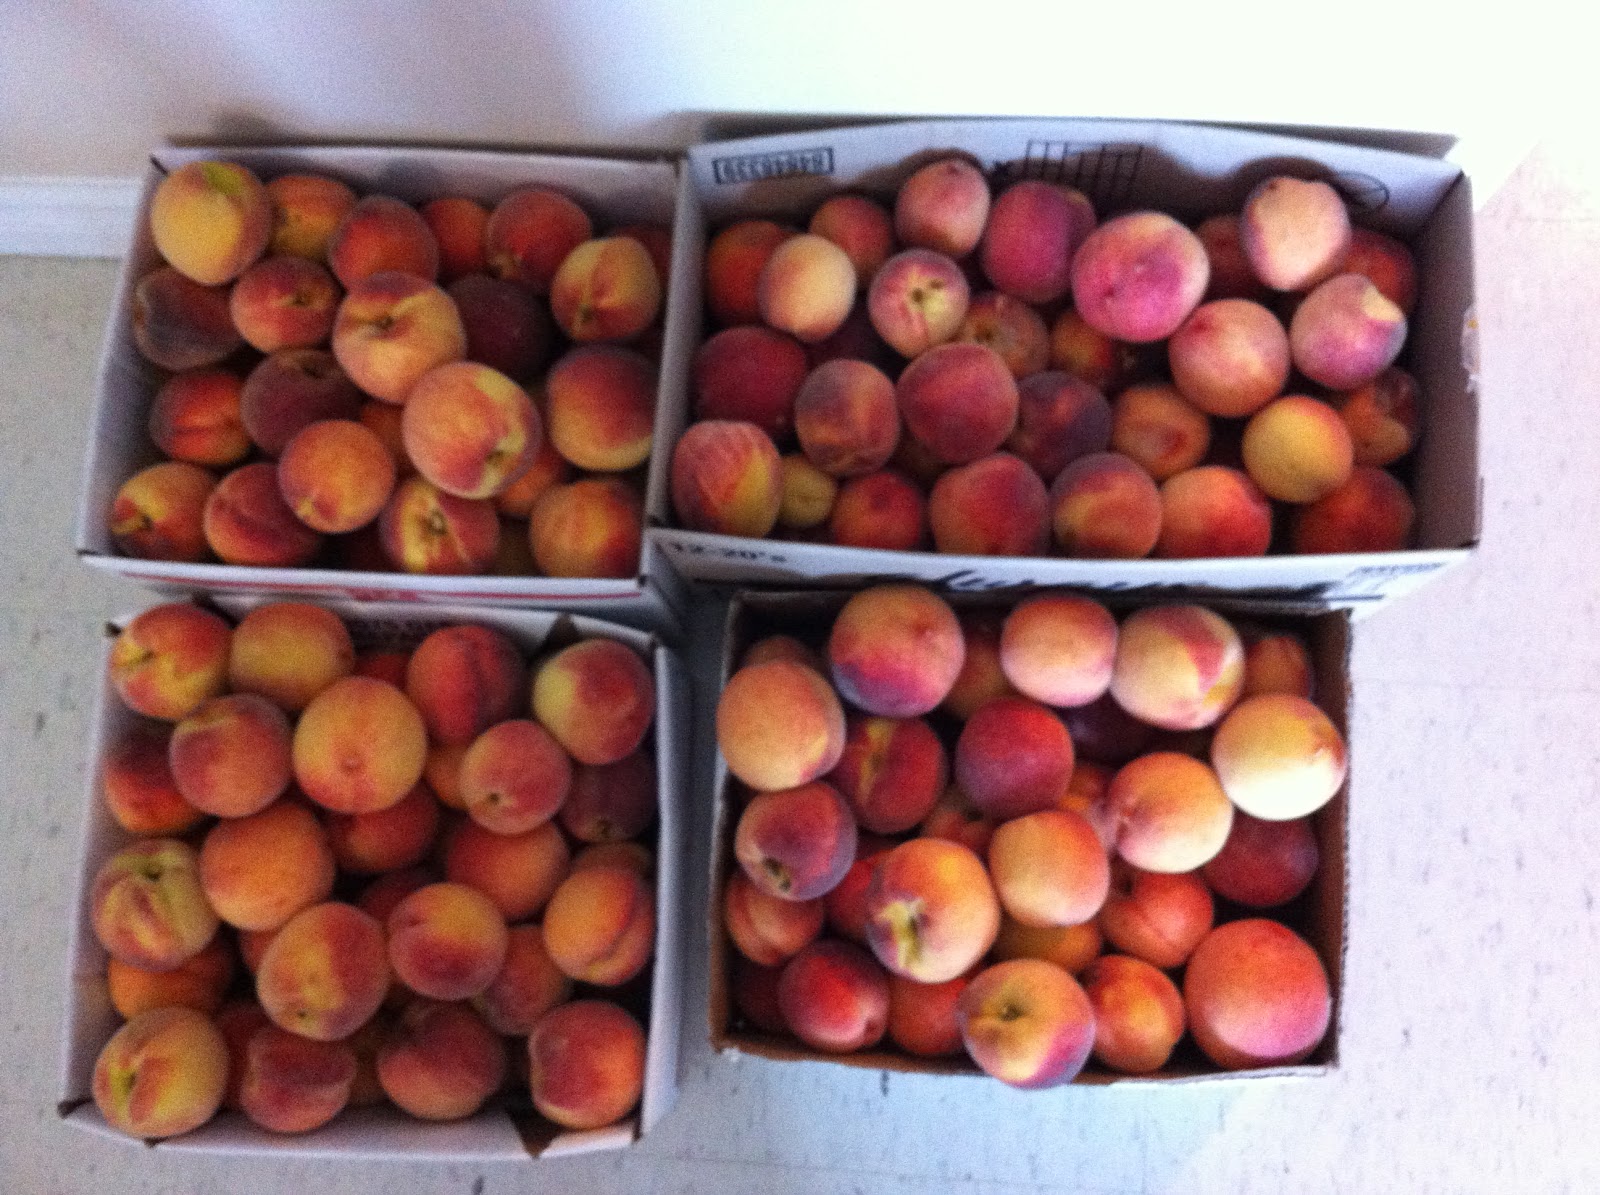
We spent summer and fall driving to u-picks in the Annapolis Valley, hunting down deals at farmer's markets, picking peaches from a friend's backyard, and hiking to pick wild blackberries, raspberries, and cranberries. We spent hours of quality time together pitting, peeling and processing. The result: a full, beautiful pantry of our own preserves.

We had a few bumps along the way, of course. Since our first batch of jam turned out a little runny, I decided to err on the side of caution on the next batch. I managed to burn a pot of raspberry jam. I realized something was wrong when I poured the jam into a jar and, as it cooled, it transformed into a candy-like consistency. I couldn't even save the jar -- it had to be thrown away! Now I see why the recipes insist on small batches  ... at least I didn't waste all our berries!

Ever-frugal, I kept track of all of our canning costs. The results:

Start-up costs/re-usable:
This includes a funnel, a ladle, a hot water bath canner, a jar lifter, and lots of jars (from thrift stores, garage sales, etc)
Total: $53.87

Costs for 2012:
This includes jars that will be used for gifts (I got 48 pretty little jars with one-piece lids for $20 off Kijiji!), ingredients for the jam (pectin, lemon juice, berries, etc), and jar lids that cannot be re-used. (Please note: I kept a detailed list of all costs, include a 14 cent jalepano pepper!)
Total: $202.45

Total of Start-Up and Consumed Costs: $256.32

Types of Preserves Made:

Raspberry jam
Strawberry jam (used a recipe with less sugar -- even though it made less jam, the jam was a beautiful ruby red and bursting with berry flavour!)
Blackberry-Raspberry jam
Peach jelly (made from the peach juice strained from peach pits and peelings -- love being frugal!)
Apple Almond Earl Grey jelly (delicious, delicate flavour!)
Marmalade
Cranberry sauce
Strawberry sauce
Spiced Blackberry sauce (aka runny Spiced Blackberry jam!)
German cabbage (red cabbage with seasonings -- these didn't turn out so well, the spices were too strong)
Spiced Blackberry jam (although the recipe with nutmeg was yummy, the spices were a bit overpowering)
Canned peaches
Canned pears
Red pepper jelly (sooo yummy! We go through this very quickly! The recipe is easy, fun to make, and I prefer mine on the sweet side! It's very nice on sandwiches and on crackers with goat cheese!)
Tomato sauce (I have to admit I was a little disappointed at how much 10lbs of field tomatoes boils down! But the sauce was delicious)

Jars Made

250 mL jars: 20
190 mL jars: 20
pints: 27
quarts: 20
1/2 pint: 7
plus about two ice cube trays of frozen strawberry sauce (to be put in a freezer bag for smoothies!)

Total number of jars: 94

Including start-up costs, each jar only cost me an average of: $2.73
Not including start-up costs (which will be re-used year after year), each jar only cost an average of: $2.15

Even for my first year of canning, I must say that's a pretty good deal! Especially considering the number of gift jars I have (40). Even if I give each person 3-4 jars in a little basket (baskets from Value Village), each gift still comes in at under $10.


There's nothing quite as beautiful as the sight of a pantry full of different coloured, different shaped jars... I'm pretty proud of what we accomplished this year!

Monday, 3 December 2012

OCM day 1

For those of you who have never heard of it, OCM stands for the Oil Cleansing Method. Some friends and I had a "girls' night" a couple of weeks ago - complete with paraffin wax, nail polish, and a chick flick. One of the girls raved about a natural skin treatment she was trying out, and convinced me to try it, too. It felt amazing!
Turns out, the oil cleansing method is a hot topic on the Internet. Busy, down-to-earth moms to ecoholic hipsters have all jumped on the bandwagon and added it to their blogs. I've decided to give it a shot. 

Here's how it works (from what I've learned): 

1. Combine castor oil with a second oil (the most popular carrier oils I read about were extra virgin olive oil, sunflower seed oil, avocado oil or grapeseed oil) Make sure you get pure, quality oils. 
2. The ratio of the combination will be different according to your skin type. From what I understand, the castor oil is the primary cleanser -- the more oily your skin, the higher the ratio of castor oil. 
3. Rub the oil around on your face (counter-intuitive, I know! Research it -- it supposedly works wonders for ALL skin types!) 
4. Dampen a washcloth with hot water and lay it over your face for thirty seconds to open your pores. Wipe the oil off, rinse the washcloth and repeat until the oil is off of your face. 

I'm using castor oil and grapeseed oil. Instead of mixing the two up in a bottle, I'm trying out different ratios first. Tonight I used a ratio of about 1/3 castor oil and 2/3 grapeseed oil, since my skin is usually dry (especially in the wintertime)! 

Tonight, after day 1 of my second student teaching placement, I decided to treat myself with some all-natural pampering. I ground up 1 cup of oats in our coffee grinder and mixed it into a hot bath (oats help soften your skin). I lit some candles, turned out the lights, and soaked for a good forty minutes. In the tub I treated my face to the OCM, and my feet to a sugar scrub. After getting out and drying off, I moisturized my legs with grapeseed oil. 

So far, my skin already feels great. It feels like a cleanser, toner and moisturizer all in one. Last night I used the castor oil as an eye makeup remover, and it worked wonderfully! It also apparently encourages hair growth (in areas where hair already grows -- I'm not going to turn into a werewolf!), so it should also thicken eyelashes. I mentioned this to Isaac, and he is now using it to rub down those patches on his cheeks that refuse to grow the beard he longs for. 

Day 1 of the OCM ... I'll post an update on how it goes, and whether or not Isaac has grown a beard.